FACEBOOK :
https://www.facebook.com/Tecniaofficial
INSTAGRAM : https://www.instagram.com/tecniaofficial/
YOUTUBE : https://www.youtube.com/@tecniatv
LINKEDIN : https://www.linkedin.com/in/tecnia-institute-of-advanced-studies-delhi-a0241490/
WEBSITE : https://tiaspg.tecnia.in/
Just scan to connect instantly
IP university official website
- Tecnia Institute of Advanced Studies (TIAS) website
- CDL [Center of Distance Learning] website
- Ashtavakra Institute of Rehabilitation Sciences & Research website
- Tecnia Institute of Dance, Music & Fine Art website
- Tecnia Institute of Art and Design website
- Tecnia Institute of Teacher education website
- Tecnia International School website
Tecnia Institute of Advanced Studies (TIAS) – is one of the Premier Institute, set up under the aegis of Health & Education Society (Regd.), – a body registered under the Society Registration Act XXI, 1860. TIAS is NAAC accredited “A” Grade Institute duly recognized by All India Council for Technical Education, Ministry of Education, Govt. of India and is affiliated to Guru Gobind Singh Indraprastha University, Delhi; Recognized under Section 2(f) of UGC Act, 1956 established in the country’s capital in the year 1998 as an educational and professional center, with an aim to provide technical knowledge required for career development of young generation by way of providing the quality education.
Business plan PPT Sample
Academic Cycle Process
Collect subject preferences from faculties ==> Create and upload LP on Portal ==> Create Course file
Academic Components : Classes + Internal Exam marks + Assignments(2) + PPT + Minor Project + Major Project + Moocs + STR
Items to be assigned to the students in each Semester either Odd / Even.
(A) In Class work : Grading will be out of 25
1) Assign 2 assignments (10 marks) [ each assignment is of 5 marks ]
2) One PPT presentation (5 marks)
3) Case Studies (5 marks)
4) Quiz (5 marks)
(B)Internal Marks (25 marks)
(C) Lab File (40 Marks)
1) Practical file (10 marks)
2) Actual practical conducted in Lab marks (10 marks)
3) Viva marks (10 marks)
4) Flip classes (10 marks)
===========================================================
Tecnia Programs : BCA/ MCA/ BBA/ MBA/ BAJMC
================================================
Sem-2: BBA-108 -E-commerce
Syllabus
For Notes : Click here
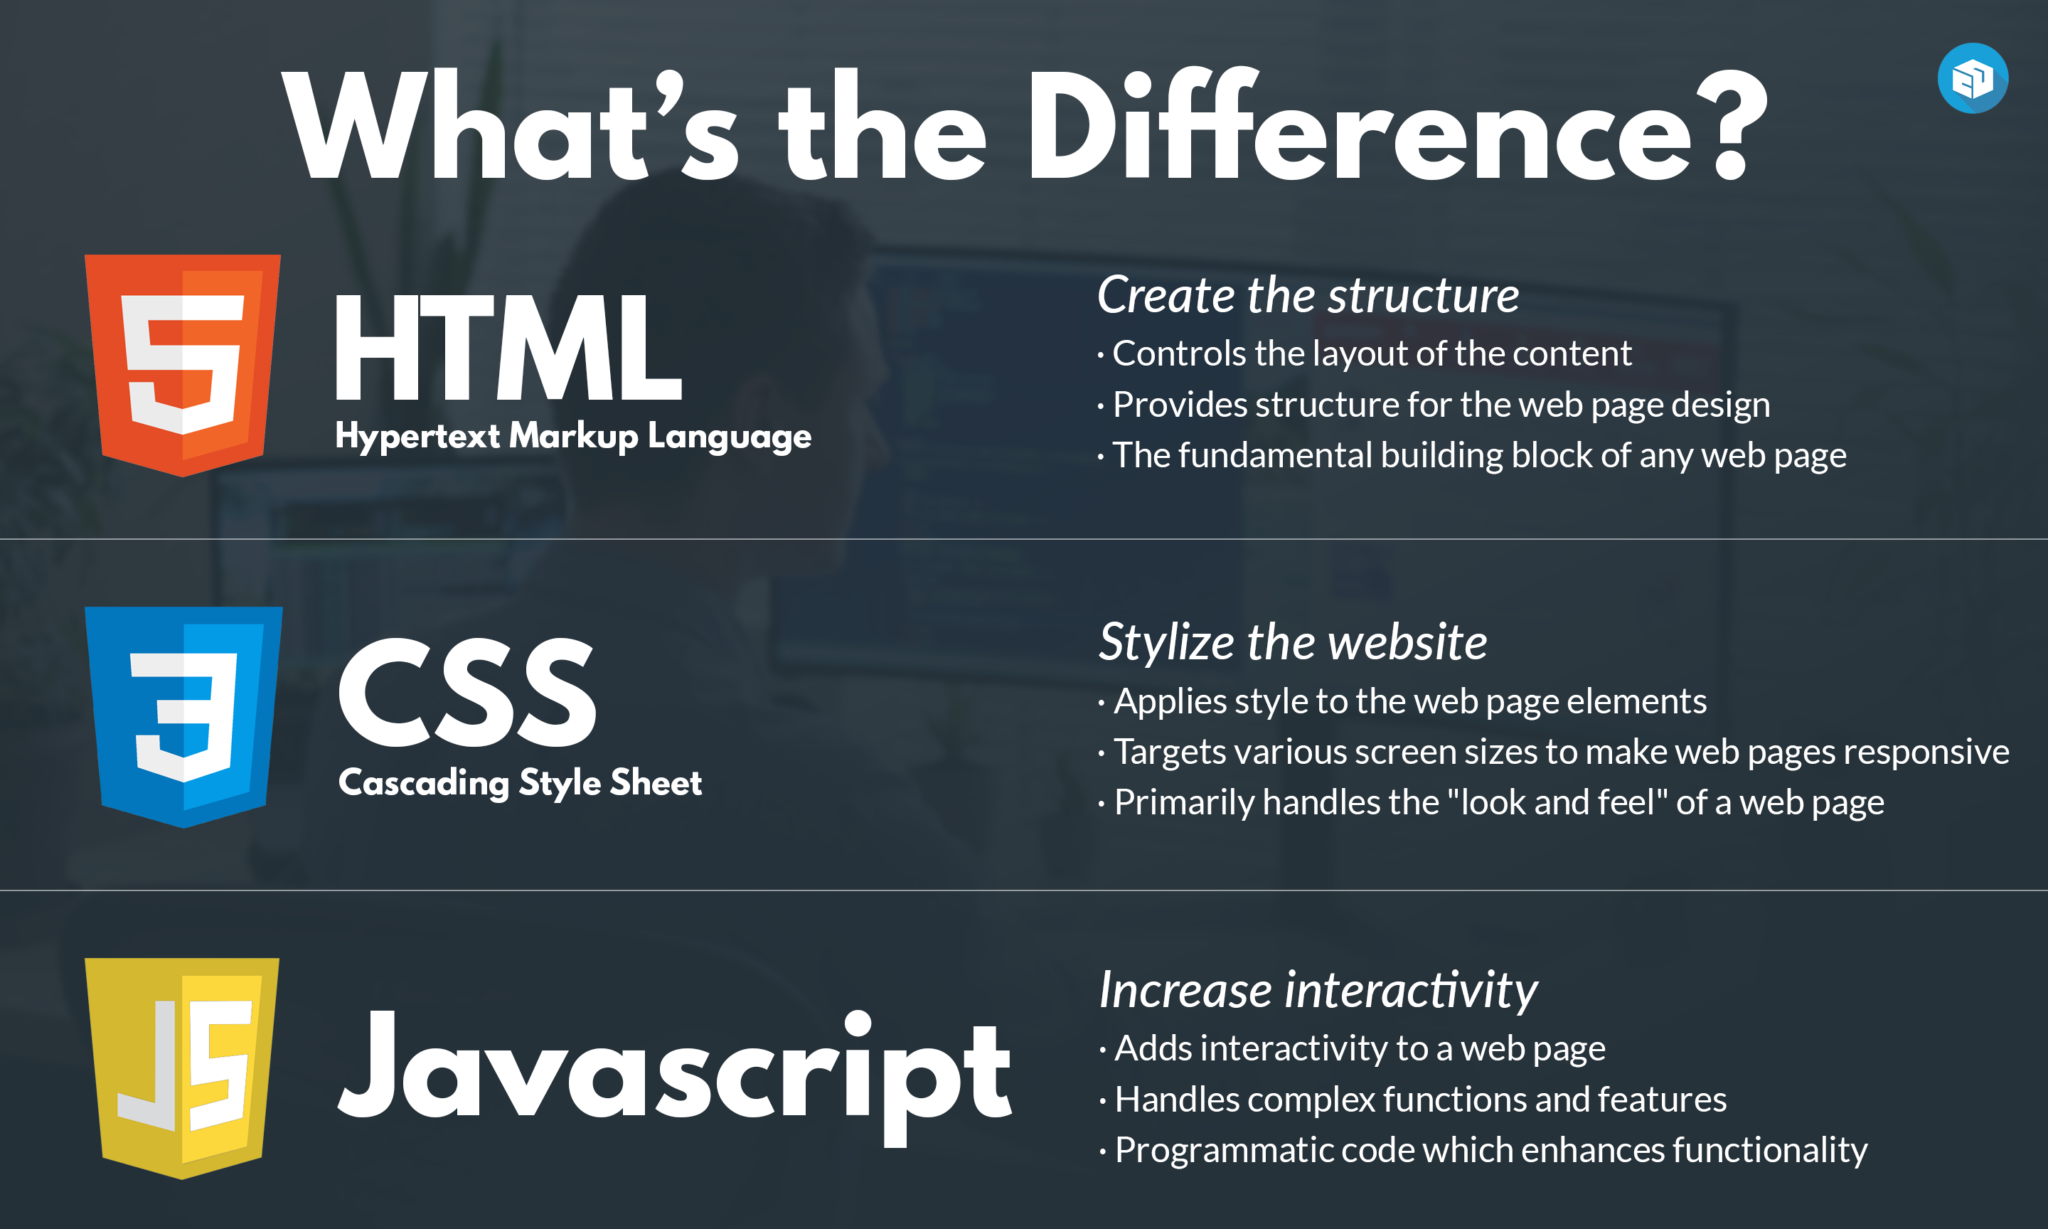
- HTML
- CSS
- JS - JavaScript
- The comment is used to insert comments in the source code. Comments are not displayed in the browsers.
- You can use comments to explain your code, which can help you when you edit the source code at a later date. This is especially useful if you have a lot of code.
- <b>This text is bold</b>
- <strong>This text is important!</strong>
- <i>This text is italic</i>
- <em>This text is emphasized</em>
- <small>This is some smaller text.</small>
- <p>Do not forget to buy <mark>Books</mark> today.</p>
- <p>My favorite color is <del>blue</del> red.</p>
- <p>My favorite color is <del>blue</del> <ins>red</ins>.</p>
- <p>This is <sub>subscripted</sub> text.</p>
- <p>This is <sup>superscripted</sup> text.</p>
<html>
<head>
<style>
table, th, td { border: 1px solid black;}
</style>
</head>
<body>
<h1>The caption element</h1>
<table>
<caption>Monthly savings</caption>
<tr>
<th>Month</th>
<th>Savings</th>
</tr>
<tr>
<td>January</td>
<td>$100</td>
</tr>
<tr>
<td>February</td>
<td>$50</td>
</tr>
</table>
</body>
</html>
Program #18.
<! Program to insert quotation mark >
<!DOCTYPE html>
<html>
<body>
<p>Browsers usually insert quotation marks around the q element.</p>
<p>WWF's goal is to: <q>Build a future where people live in harmony with nature.</q></p>
</body>
</html>
Program #19.
<! Add padding to a table >
<!DOCTYPE html>
<html>
<head>
<style>
table, th, td { border: 1px solid black;}
th, td { padding: 20px;}
</style>
</head>
<body>
<h1>Add Padding to a Table</h1>
<table>
<tr>
<th>Month</th>
<th>Savings</th>
</tr>
<tr>
<td>January</td>
<td>$100</td>
</tr>
<tr>
<td>February</td>
<td>$80</td>
</tr>
</table>
</body>
</html>
Program #20.
<Add a specific width to a column >
<!DOCTYPE html>
<html>
<head>
<style>
table, th, td {
border: 1px solid black;
}
</style>
</head>
<body>
<h1>Add a Specific Width to a Table</h1>
<table style="width:300px">
<tr>
<th>Month</th>
<th>Savings</th>
</tr>
<tr>
<td>January</td>
<td>$100</td>
</tr>
<tr>
<td>February</td>
<td>$80</td>
</tr>
</table>
</body>
</html>
Program #21.
<!Program to change the width of the border>
<!DOCTYPE html>
<html>
<body>
<h2 style="border: 3px solid Tomato;">H e l l o W o r l d </h2>
<h1 style="border: 2px solid DodgerBlue;">Hello World</h1>
<h1 style="border: 1px solid Violet;">Hello World</h1>
</body>
</html>
- HTML tables allow web developers to arrange data into rows and columns.
- Each table cell is defined by a <td> and a </td> tag. td stands for table data.
- Each table row starts with a <tr> and ends with a </tr> tag. tr stands for table row.
- Sometimes you want your cells to be table header cells. In those cases use the <th> tag instead of the <td> tag, th stands for table header.
Program #22
<!DOCTYPE html>
<html>
<style>
table, th, td {
border:1px solid black;
}
</style>
<body>
<h2>TD elements define table cells</h2>
<table style="width:100%">
<tr>
<td>Esha</td>
<td>Tony</td>
<td>Lalit</td>
</tr>
</table>
<p>To understand the example better, we have added borders to the table.</p>
</body>
</html>
Program #23
<!DOCTYPE html>
<html>
<style>
table, th, td {
border:1px solid black;
}
</style>
<body>
<h2>TR elements define table rows</h2>
<table style="width:100%">
<tr>
<td>Ankita</td>
<td>Tanya</td>
<td>Deepanshu</td>
</tr>
<tr>
<td>16</td>
<td>14</td>
<td>10</td>
</tr>
</table>
<p>To understand the example better, we have added borders to the table.</p>
</body>
</html>
Program #23
<!DOCTYPE html>
<html>
<style>
table, th, td {
border:1px solid black;
}
</style>
<body>
<h2>TH elements define table headers</h2>
<table style="width:100%">
<tr>
<th>Person 1</th>
<th>Person 2</th>
<th>Person 3</th>
</tr>
<tr>
<td>Emil</td>
<td>Tobias</td>
<td>Linus</td>
</tr>
<tr>
<td>16</td>
<td>14</td>
<td>10</td>
</tr>
</table>
<p>To understand the example better, we have added borders to the table.</p>
</body>
</html>
Program #24
<!DOCTYPE html>
<html>
<head>
<style>
table, th, td {
border: 1px solid black;
}
</style>
</head>
<body>
<h1>The table element</h1>
<table>
<tr>
<th>Month</th>
<th>Savings</th>
</tr>
<tr>
<td>January</td>
<td>$100</td>
</tr>
<tr>
<td>February</td>
<td>$80</td>
</tr>
</table>
</body>
</html>
Program #25
How To Create a Two Column Layout
<div class="row">
<div class="column"></div>
<div class="column"></div>
</div>
/* Create two equal columns that floats next to each other */
.column {
float: left;
width: 50%;
padding: 10px;
height: 300px;
}
.row:after {
content: "";
display: table;
clear: both;
}
</style>
</head>
<body>
<h2>Two Equal Columns</h2>
<div class="row">
<div class="column" style="background-color:#aaa;">
<h2>Column 1</h2>
<p>Some text..</p>
</div>
<div class="column" style="background-color:#bbb;">
<h2>Column 2</h2>
<p>Some text..</p>
</div>
</div>
</body>
</html>
Program #26
Now we will create two unequal columns:
Example
.column {
float: left;
}
.left {
width: 25%;
}
.right {
width: 75%;
}
Program #26
/* Create two unequal columns that floats next to each other */
<!DOCTYPE html>
<html>
<head>
<meta name="viewport" content="width=device-width, initial-scale=1">
<style>
* {
box-sizing: border-box;
}
.column {
float: left;
padding: 10px;
height: 300px; /* Should be removed. Only for demonstration */
}
.left {
width: 25%;
}
.right {
width: 75%;
}
/* Clear floats after the columns */
.row:after {
content: "";
display: table;
clear: both;
}
</style>
</head>
<body>
<h2>Two Unequal Columns</h2>
<div class="row">
<div class="column left" style="background-color:#aaa;">
<h2>Column 1</h2>
<p>Some text..</p>
</div>
<div class="column right" style="background-color:#bbb;">
<h2>Column 2</h2>
<p>Some text..</p>
</div>
</div>
</body>
</html>
Program #27
In HTML5 <audio> and <video> tags make it simple to add media to a website. You need to set src attribute to identify the media source and include a controls attribute so the user can play and pause the media.
<!DOCTYPE html>
<html>
<body>
<h1>The audio element</h1>
<p>Click on the play button to play a sound:</p>
<audio controls>
<source src="horse.mp3" type="audio/mpeg">
Your browser does not support the audio element.
</audio>
</body>
</html>
Currently there are three supported file format for HTML 5 audio tag.
- mp3
- wav
- ogg
Embedding Video
Here is the simplest form of embedding a video file in your webpage −
<!DOCTYPE HTML>
<html>
<body>
<video width = "300" height = "200" controls autoplay>
<source src = "/html5/foo.mp4" type = "video/mp4" />
Your browser does not support the <video> element.
</video>
</body>
</html>
Currently, there are three video formats supported for HTML video tag:
- mp4
- webM
- ogg
Program #28
<!DOCTYPE>
<html>
<body>
<video width="320" height="240" controls autoplay loop>
<source src="movie.mp4" type="video/mp4">
Your browser does not support the html video tag.
</video>
</body>
</html>
3) BCA Notes click here for IP university syllabus
Support Material












:max_bytes(150000):strip_icc()/dotdash_Final_Electronic_Commerce_e-commerce_Jul_2020-175d8f54e6e44dd68f6d50b892eab8c0.jpg)




No comments:
Post a Comment
If you have any query or doubt, please let me know. I will try my level best to resolve the same at earliest.